
Angled Building with Blender Geometry Nodes
Creating architectural concepts doesn't need to be rocket science or take a few days to do. With Blender and geometry nodes, it is now possible to generate explorative massings in minutes instead of days. In case you want to play with the file, it is available on patreon.
The Video

Learn how to create an architectural massing similar to the pixelated style made popular by BIG Architecture (Bjarke Ingels Group). This is easily done with two modifiers in Blender - the remesh modifier and a geometry nodes modifier on which you can find out in the video.

The setup
The idea here is super simple - how can a simple massing be used as a base for tessellation. There are many ways to tessellate objects in Blender, including with the Tissue addon. However, Geometry Nodes doesn’t produce real geometry, as it works with instancing, so the final outcome is much lighter and easier to reproduce. There are a few things to keep in mind, though.
Unlike the Tissue addon, the sizes are fixed. Really, BIG architecture can adopt this setup for about half of their projects ;) At least in the exploratory phase. Yes, it does get a little (ok more than a little) more complicated beyond the concept in order to realise these types of buildings, but that’s ok! There are tools for that work as well. Here, the idea is to move from idea to a representation as quickly as possible.
So back on topic, the sizes are fixed, the modules thus far do not stretch neatly as they would with Tissue. The sizes of the modules need either match the scale of the overall tessellation or they need to be scaled within geometry nodes so we don’t get something like this:
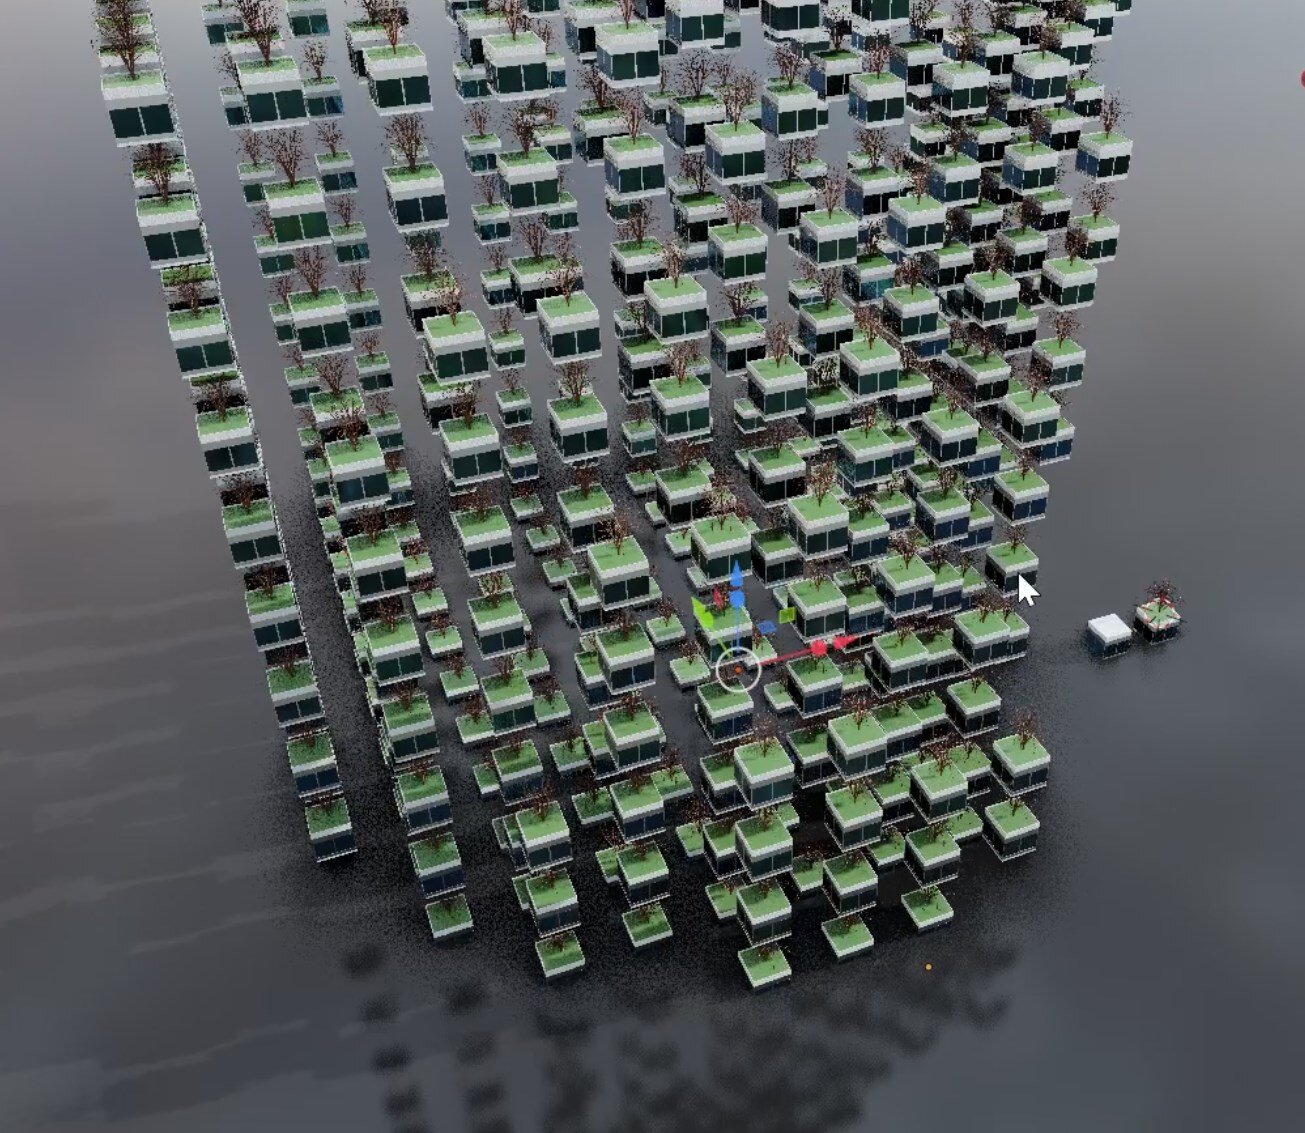
If the scale of the module doesn’t match the massing, the module may require some adjustments, but that’s ok! as we can even add more modules later down the line.
The phases
There are 4 steps. We already spoke about one of the steps above
Create a simple masssing.
Add a Remesh modifier
Create or import modules
Then add a geometry nodes modifier and use the pre-made modules on the base mesh.
The whole set up looks like this:

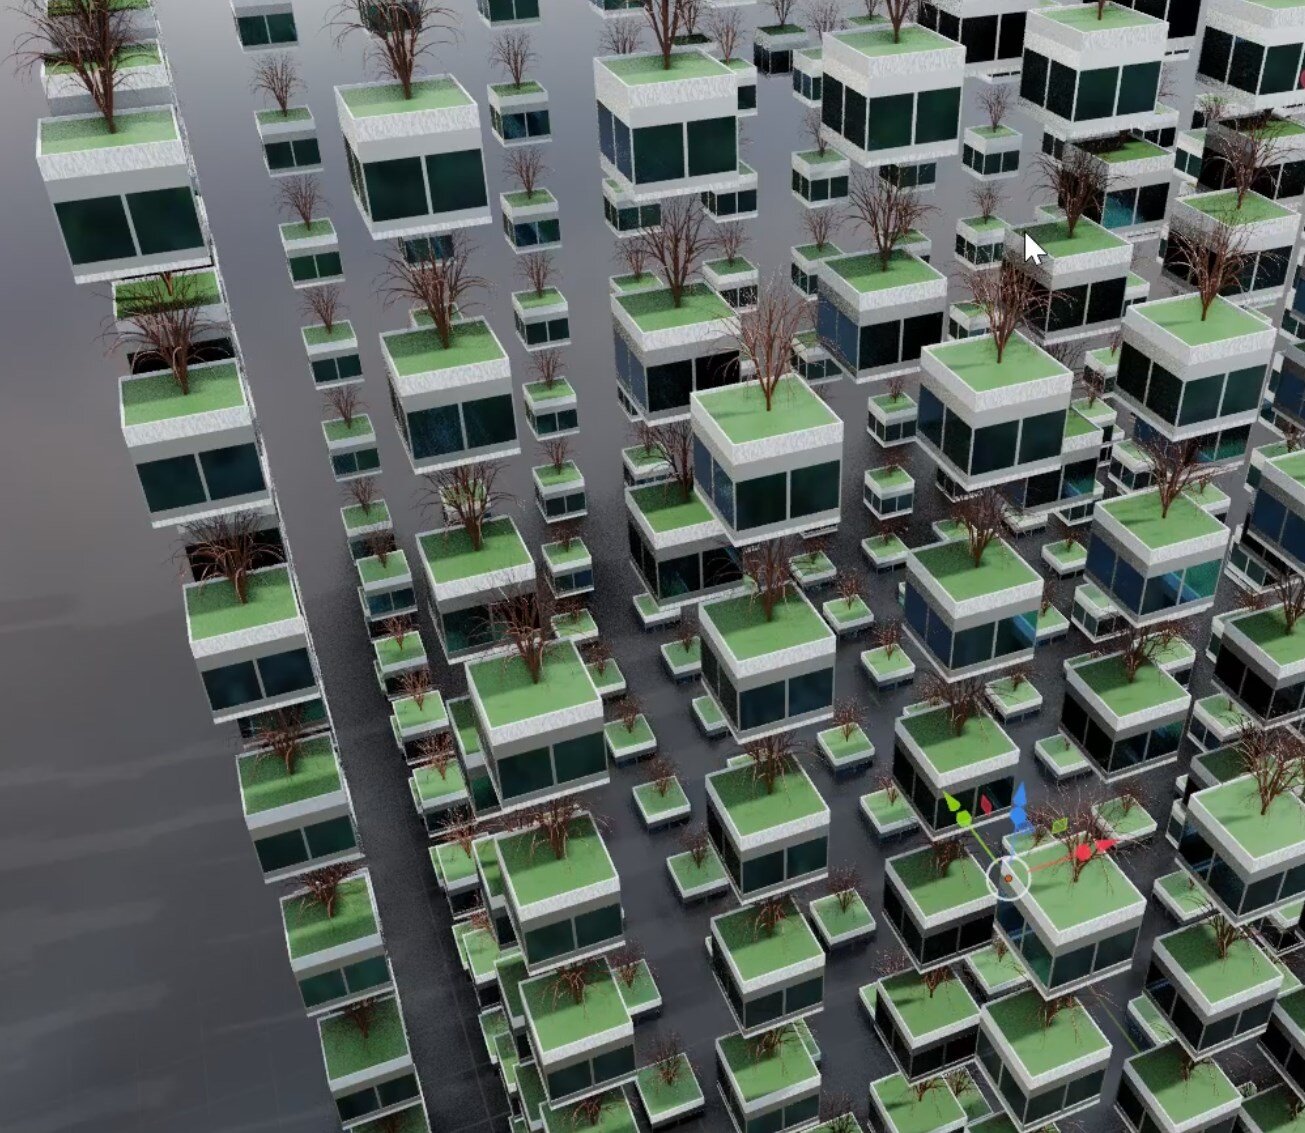
Naturally, the adjustments of the base mesh result in adjustments of the output. This layout would take quite a bit of time to do in Rhino and Grasshopper, so I am amazed how quickly this can be achieved!
The last part I would like to mention is the fact that there are two modules that are being used depending on the normal of the underlying base mesh. That what the three nodes after the group input achieve.
As mentioned earlier, the file is available on Patreon. I post many examples there fairly often. In many cases, much earlier than before I get a chance to create a video (as was the case with this example). The support I get from Patrons directly helps me invest more time in creating videos and examples like this one. Also, the files and videos I post there tend to be quite relevant if you are into architectural design with Blender.
The file is also available on gumroad